How to Make a Link in Bio for Free (Step by Step)
How to make a free link in bio page in about ten minutes: claim your address, add links and social icons, pick a theme, then add it to Instagram, TikTok and YouTube.

Most apps give you one spot in your profile for a link. You have more than one thing to share: your shop, your latest video, a booking page, your WhatsApp, a newsletter. A link in bio page solves that. It is a simple web page with all your links on it, and you put that page's address in your profile.
This guide is the practical part. No theory, no long list of tools. You will build a free link in bio page from scratch with VISU, fill it with the links that matter, give it a look that fits you, and then add it to Instagram, TikTok and YouTube. Plan on about ten minutes.
If you want the bigger picture first (what to link, how to think about your audience, what to measure), our complete guide to link in bio for creators covers the strategy. This post is the step-by-step.
What you need before you start
Get these ready and the setup goes fast:
- A username you want to keep. It becomes your page address, so pick the same handle you use on social media if you can.
- A profile photo. The same one you use on Instagram or TikTok, so people recognize you instantly.
- A one-line bio. Who you are and what people get from your page.
- Your links. Open each one on your phone and copy the URL. Think shop, latest video, booking or contact, and your other social profiles.
That's it. No credit card, no design skills, no website.

Step 1: Create your free account and claim your address
Go to visu.to and sign up. You can continue with Google, continue with Apple, or use your email. Signing up is free and does not ask for a card.
During setup you choose your username. Your page will live at visu.to/yourname, so this is the address you will paste everywhere later. A few rules apply on VISU: 3 to 40 characters, using lowercase letters, numbers and underscores. No periods or hyphens, so if your Instagram handle is ana.bakes, use ana_bakes or anabakes.
Pick carefully. A username that matches your other profiles makes your page easier to find and easier to say out loud. Changing it later is possible but limited, and every place you shared the old address would need updating.
Step 2: Add your photo and a short bio
Open your VisuLink editor. It is split into three tabs: Profile, Page and Theme.
In Profile, upload your photo and write your bio. VISU calls it "a short description shown on your public profile", and short is the point. One line that tells a visitor what they are looking at works better than a paragraph:
- "Sourdough recipes and weekend baking classes in Austin"
- "Wedding photographer. Booking 2027 dates now"
- "Gaming streams Tue, Thu, Sat. Clips and merch below"
Need help with the wording? Our guide to writing a bio link description that converts has formulas you can copy.
Step 3: Add your links
Now the important part. Tap Add Link. A small form opens with three things:
- Select platform (optional). Pick it if the link is a known platform, so it gets the right icon automatically.
- Link Title. What people will see on the button, for example "Shop my presets" or "Book a session".
- URL. Paste the address you copied.
Tap Create Link and it appears on your page.
A few details that save time:
- Email and phone are detected. If you paste an email address or a phone number into the URL field, VISU notices and offers to add it as an Email or Phone link instead. One tap and visitors can write to you or call you directly.
- Links and Social Icons are separate. Your page has two areas. Links are shown as full cards, which is where your main actions go. Social Icons are shown as small icons, which is perfect for your Instagram, TikTok, YouTube and other profiles. You can drag a link from one area to the other.
- Each link has an on/off switch. "Show this link" lets you hide a link without deleting it. Great for seasonal offers or a sale that ends Friday.
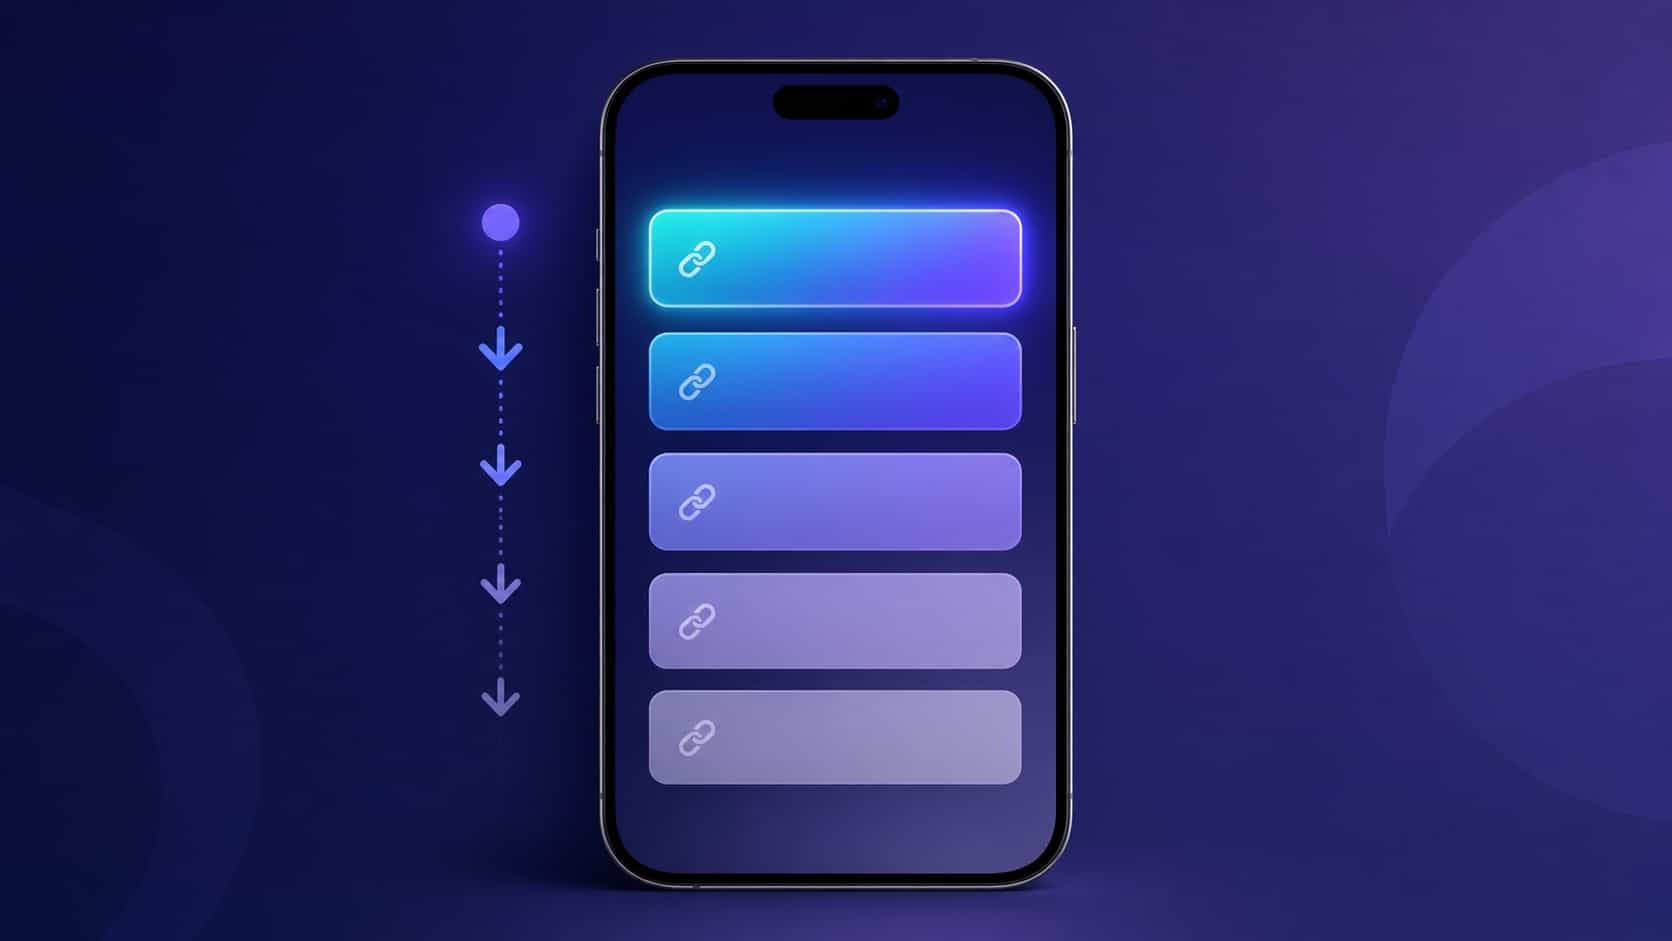
- Drag to reorder. Put the link you care about most at the top. Most people tap the first one or two buttons and stop there.
How many links can you add for free? The free plan includes 5 links and 5 social icons. That is plenty for most people starting out: your main offer, your latest content, a way to contact you, and your social profiles as icons. Paid plans raise the limit (10 on Starter, 20 on Pro, unlimited on Premium) if you outgrow it.
Not sure which five to pick? Our post on organizing your links by priority walks through how to rank them.
Step 4: Pick a theme
Open the Theme tab. You will find ready-made Themes you can apply with one tap, and if you want more control, custom settings for:
- background and accent color
- button style (Rounded, Pill or Square)
- button and text colors
- link alignment
Use the live preview while you change things, so you see exactly what visitors will see. Two tips: make sure the button text is easy to read against the background, and stick to one or two colors that match your other profiles. Your page should feel like an extension of your Instagram or TikTok, not a different brand.
Most visitors will open your page on a phone, from inside an app. Check the preview in phone size. Our mobile-first design principles explain what makes a page easy to tap.
Step 5: Copy your link
Hit Save changes, then use Copy Link to copy your page address. It looks like this:
visu.to/yourname
Open it once on your phone, from a browser, and tap every button to make sure each one goes where you expect. Now you are ready to share it.
How to add your link in bio to Instagram
Instagram lets you add up to 5 links to your profile, according to its Help Center. Your link in bio page should be one of them, ideally the first.
- Open the Instagram app and go to your profile.
- Tap Edit profile.
- Tap Links, then Add external link.
- Paste your
visu.to/yournameaddress and save.
Menu labels move around between app versions, so if yours looks a little different, look for the links or website section in Edit profile. If you want the full picture of what Instagram allows natively and when a page works better, read our guide on how to add multiple links to your Instagram bio.
How to add your link in bio to TikTok
TikTok is stricter. According to TikTok's Help Center, a clickable website link on your profile is available to accounts with 1,000 or more followers or a registered business account, and the feature is not available in every region.
If you qualify:
- Open TikTok and go to your Profile.
- Tap Edit profile.
- Next to the links section, tap Add and follow the prompts to add your website.
- Paste your VISU page address and save.
If you do not qualify yet, you can still put visu.to/yourname in your bio as text. It will not be clickable, but because the address is short and easy to type, people can still find you. Saying it out loud at the end of a video also helps.
How to add your link in bio to YouTube
YouTube is the most generous. Its Help Center says you can showcase up to 14 links on your channel, and the first one is displayed prominently near the subscribe button.
- Sign in to YouTube Studio.
- From the left menu, select Customization, then Profile.
- Under Links, click Add link and enter a title and your
visu.to/yournameaddress. - Click Publish.
Put your link in bio page first, since that is the one people will see without clicking further. You can also add it to your video descriptions, where it works alongside the channel links.
After you publish: keep it alive
A link in bio page is only useful if it is current. A few habits keep it working:
- Update when you post. New video, new product, new event: change the top link the same day.
- Hide instead of delete. Use the on/off switch for things that will come back.
- Check your stats. VISU shows you visits and which links get tapped, so you can move the winners up and drop what nobody clicks.
- Use the QR code. Every VISU account comes with a QR code that points to your page, which helps at events, on packaging or on a business card.
Common mistakes when you set this up
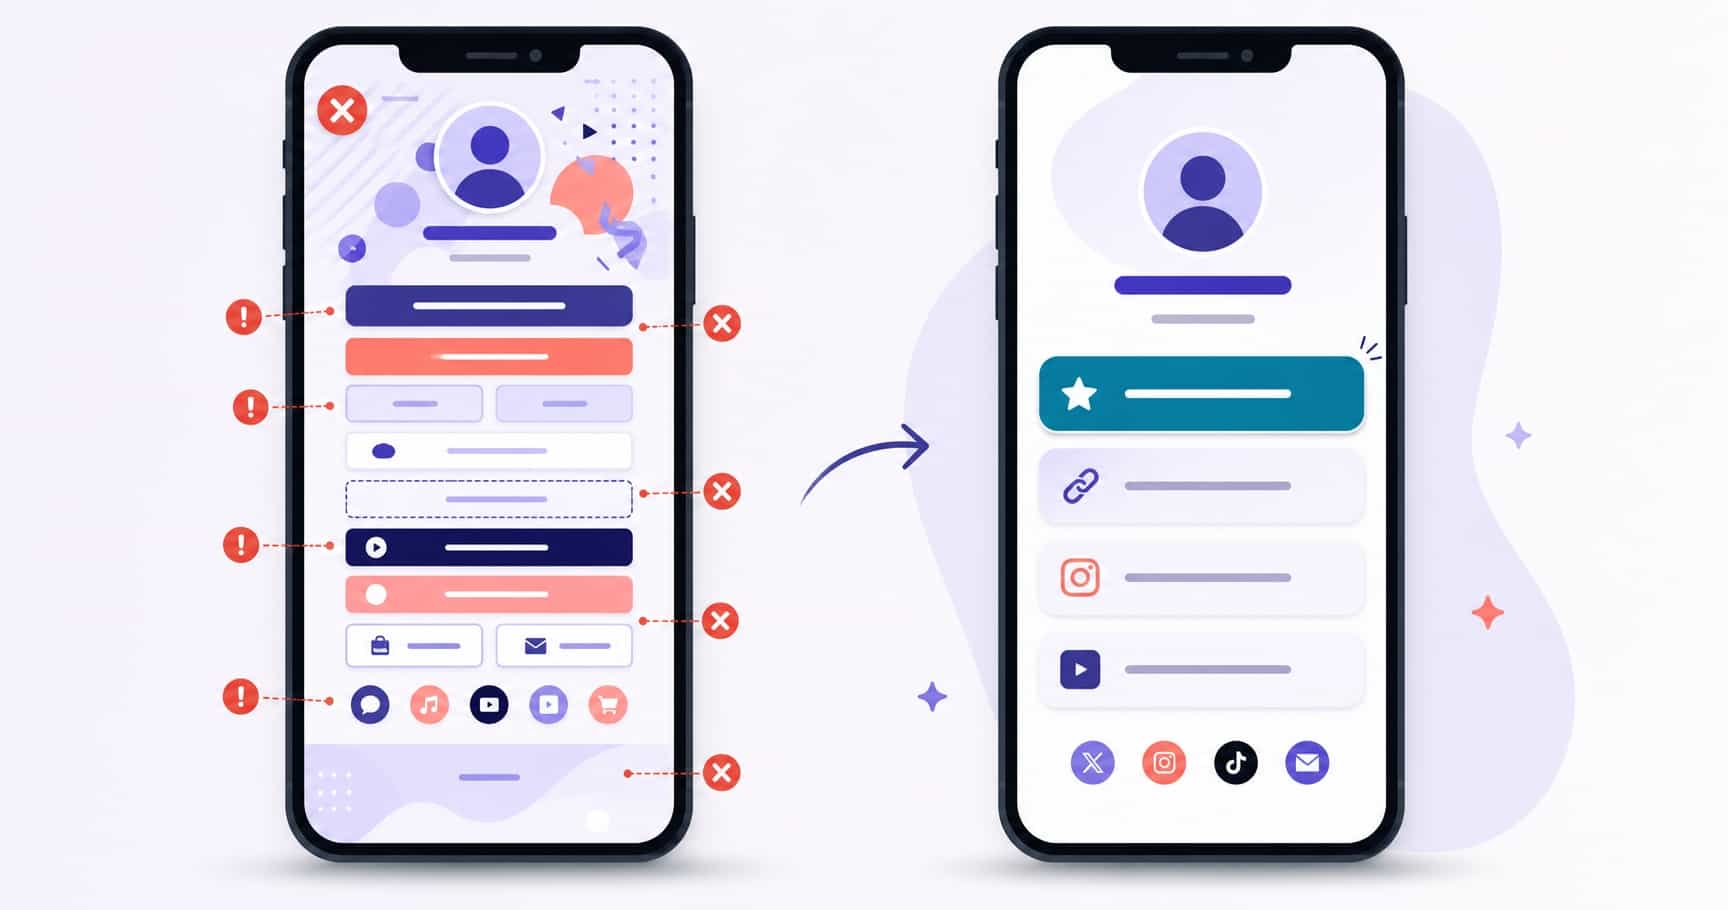
- Too many links. More buttons means more thinking for the visitor. Five strong links beat twelve weak ones.
- Vague titles. "Click here" or "My link" tell people nothing. Say what they get: "Free recipe ebook", "Book a 30-min call".
- A different name everywhere. If your handle is
anabakeson Instagram and your page isvisu.to/ana_b_2026, people will doubt it is you. - Never testing. A broken link at the top of your page costs you more than having no link at all.
Ready to build yours?
That is the whole process: sign up, add a photo and bio, add your links, pick a theme, copy your address and paste it into Instagram, TikTok and YouTube. The free plan covers everything in this guide.
Create your free VISU page and have your link in bio live before your next post goes up.
Frequently asked questions
Can I make a link in bio page for free?
Yes. On VISU you sign up with Google, Apple or email, without a credit card, and the free plan includes 5 links shown as cards plus 5 social icons, a theme of your choice and a share link like visu.to/yourname.
How long does it take to set up?
About ten minutes if you have your photo, a one-line bio and your link addresses ready. Most of the time goes into choosing which links to feature and writing clear button titles.
What should I name my link in bio page?
Use the same handle you use on Instagram or TikTok so people recognize it. VISU usernames are 3 to 40 characters with lowercase letters, numbers and underscores, so a handle with a period becomes the underscore version.
Can I add my link in bio to TikTok without 1,000 followers?
According to TikTok's Help Center, a clickable website link needs 1,000 or more followers or a registered business account. Until then you can write your short address in the bio as text and say it in your videos.
Where do I add the link on YouTube?
In YouTube Studio, go to Customization, then Profile, and under Links click Add link. YouTube lets you show up to 14 links, and the first one is displayed near the subscribe button, so put your link in bio page first.